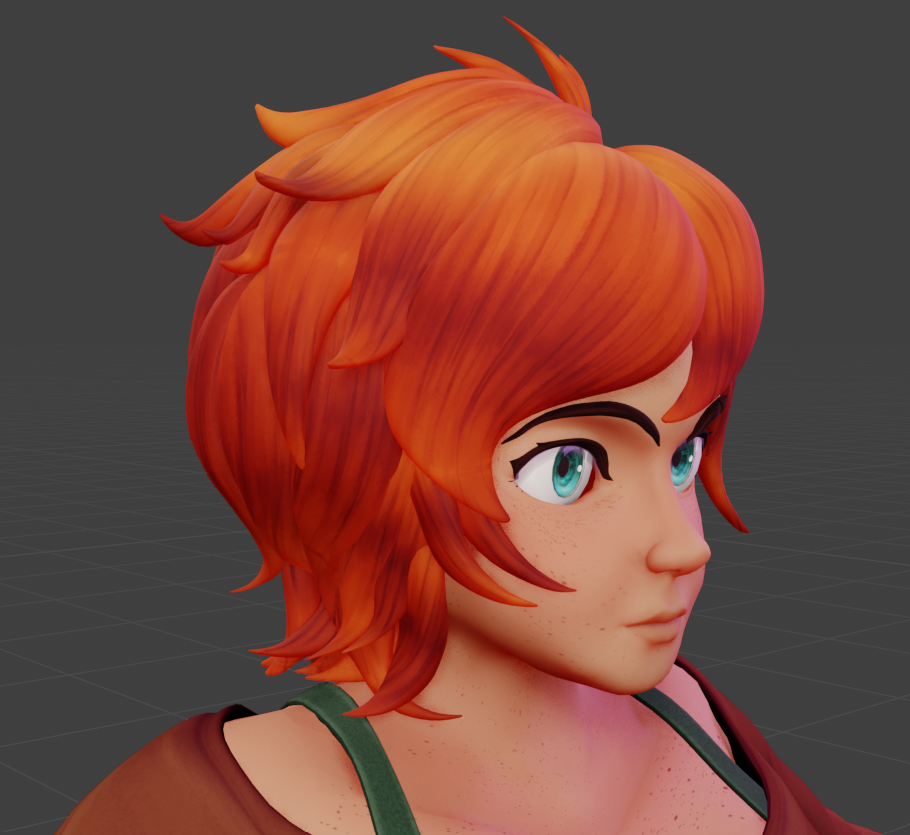
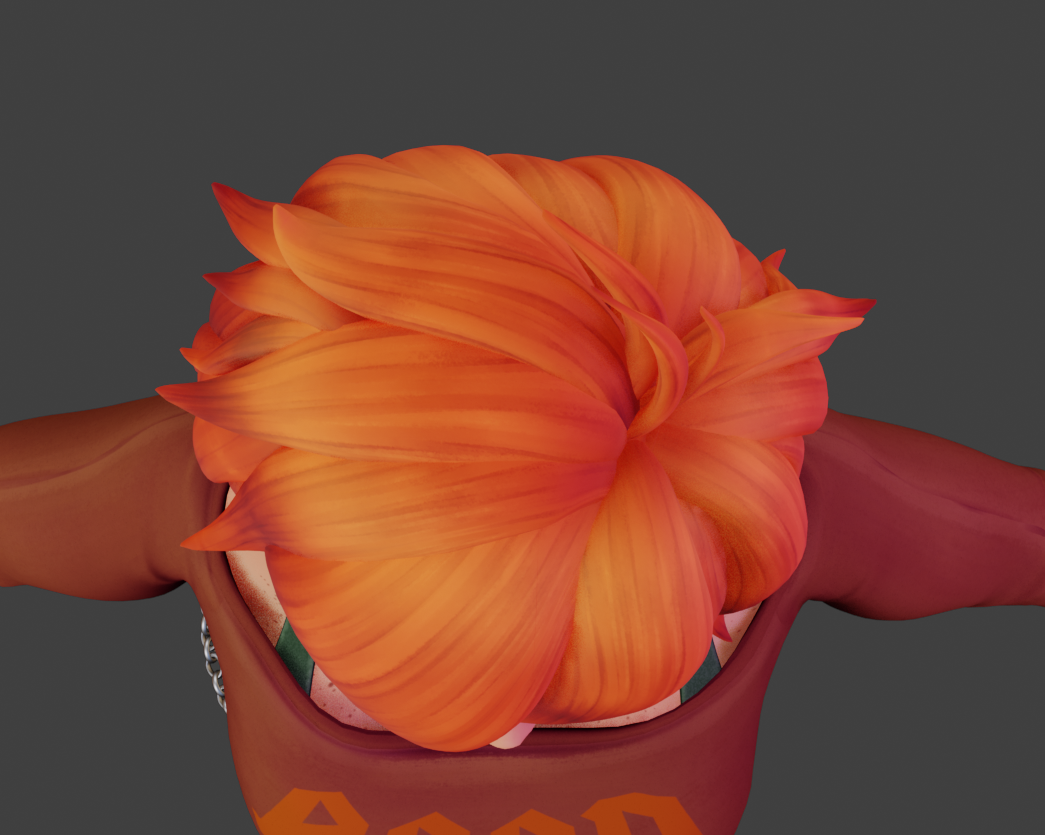
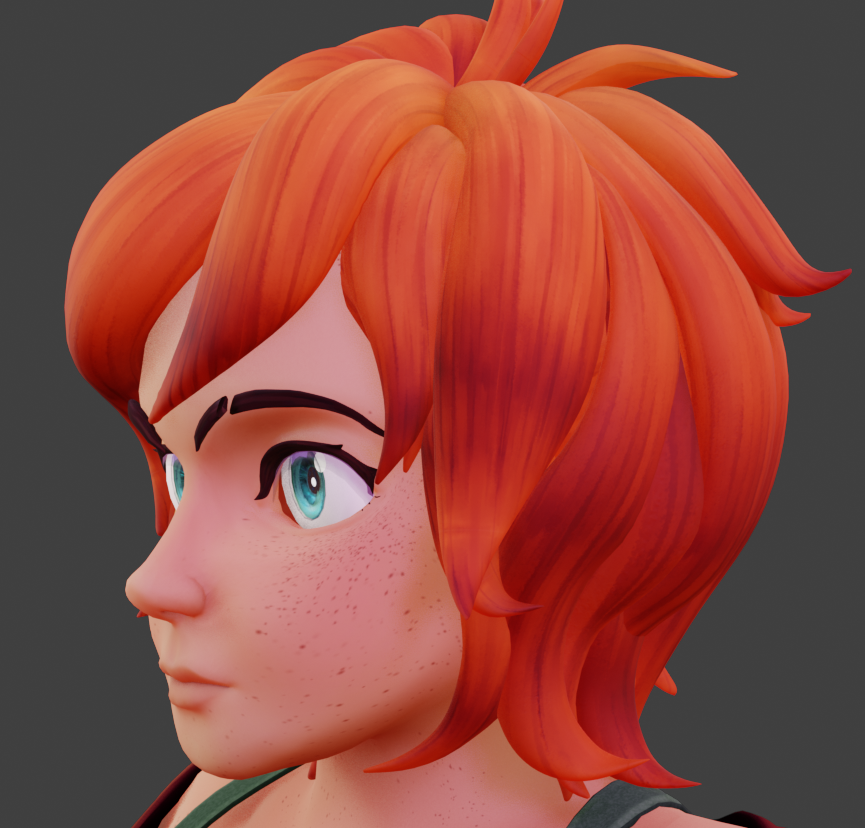
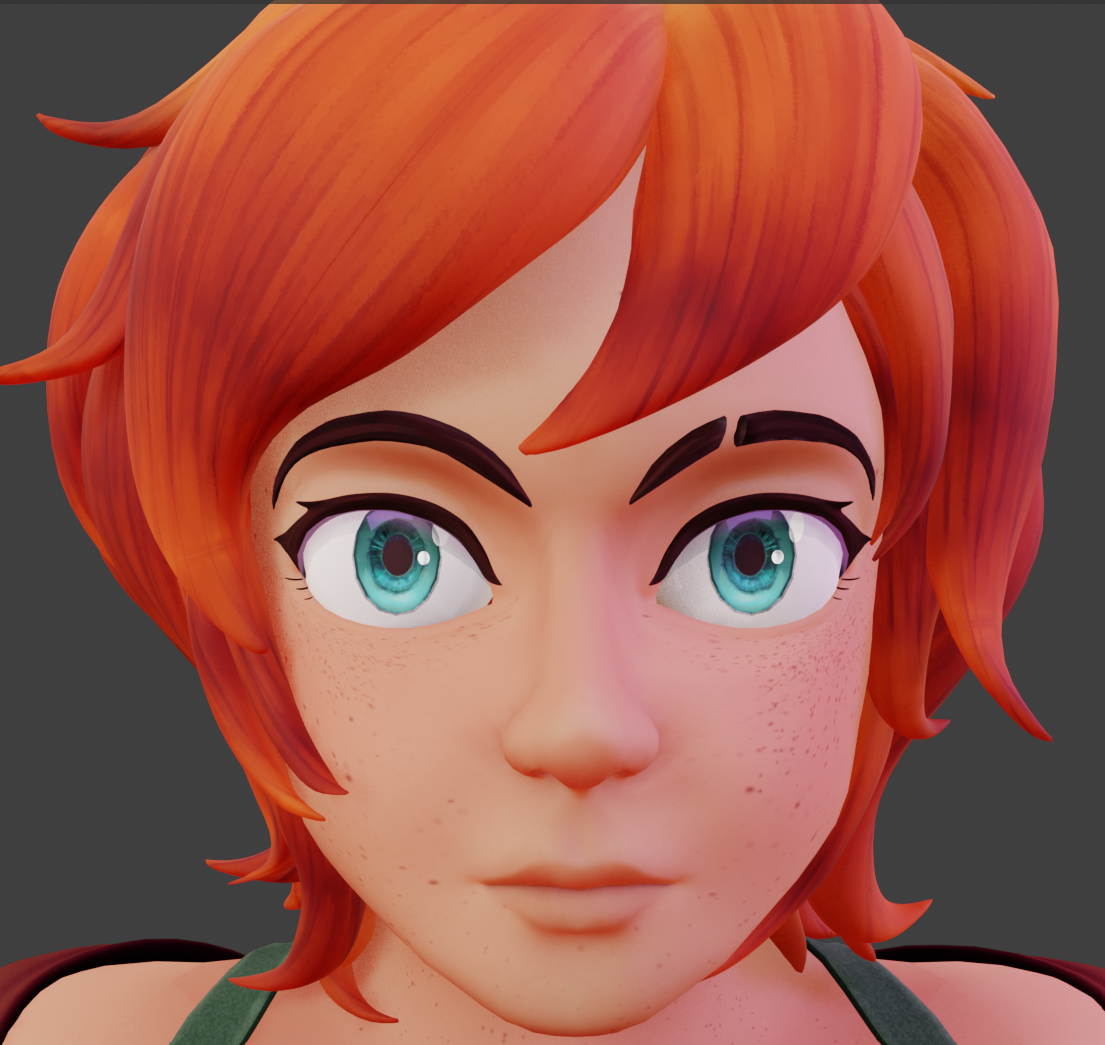
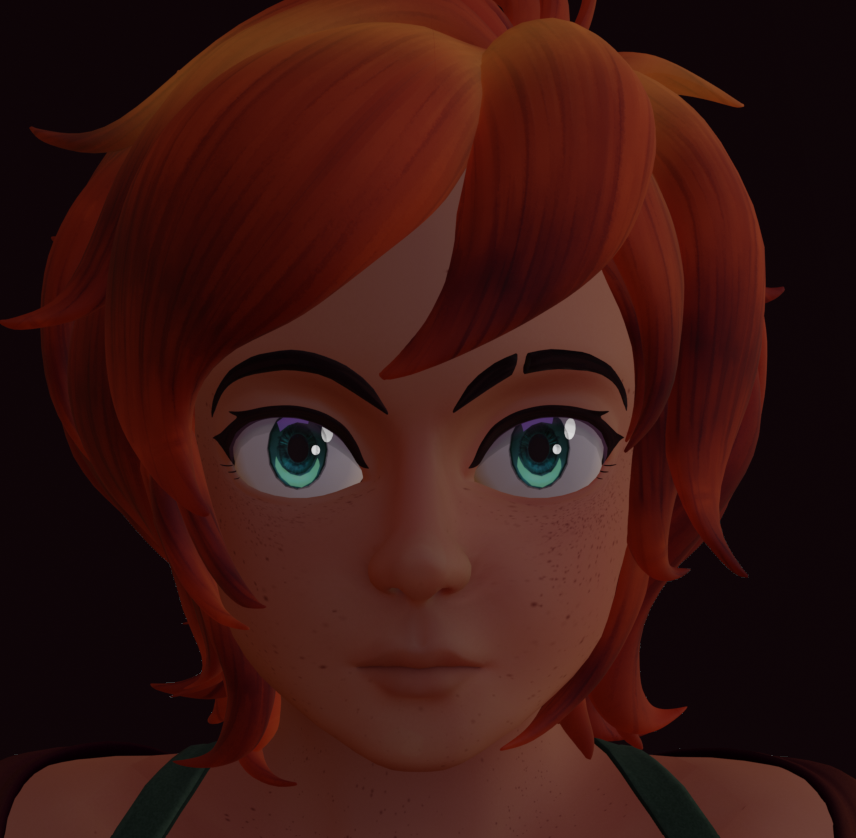
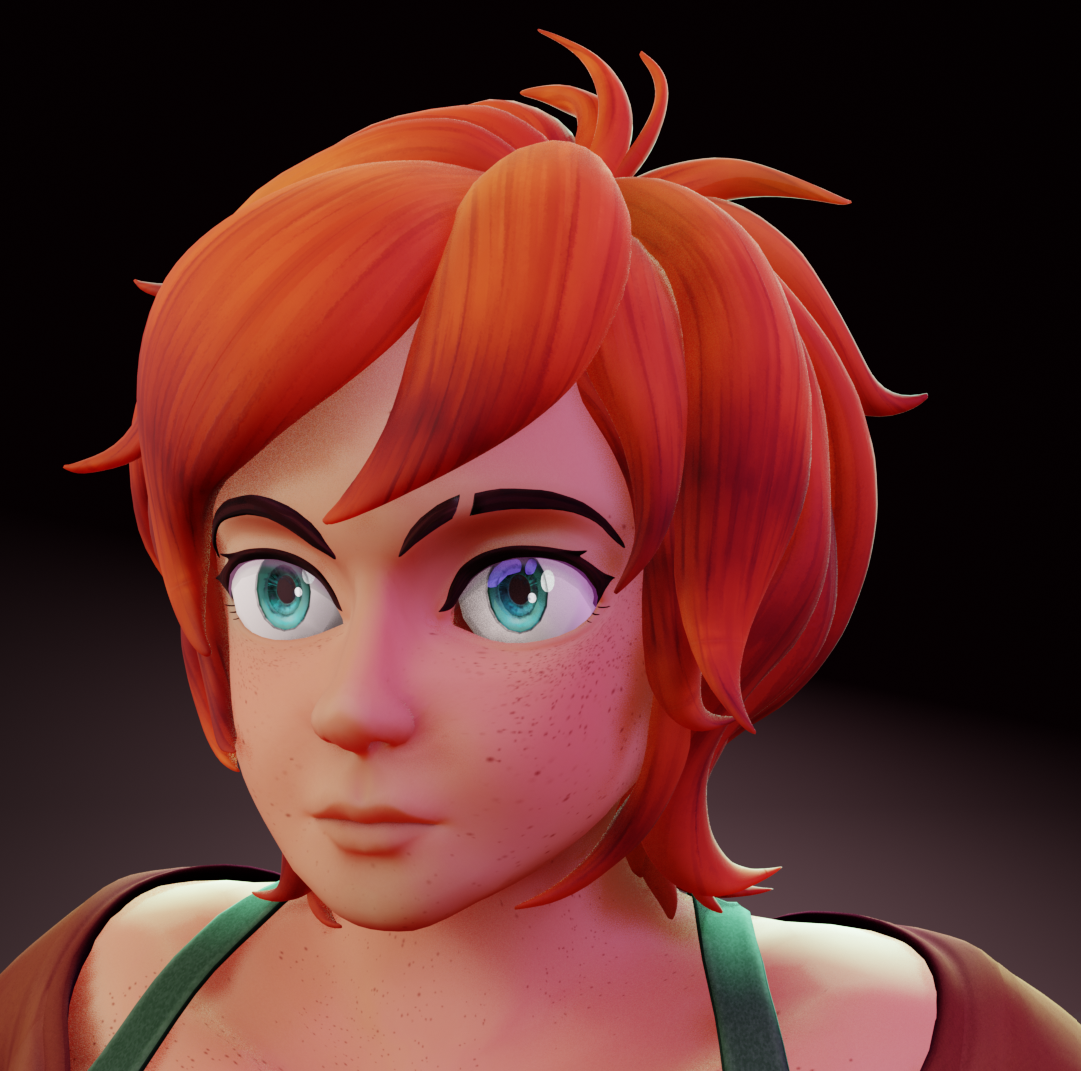
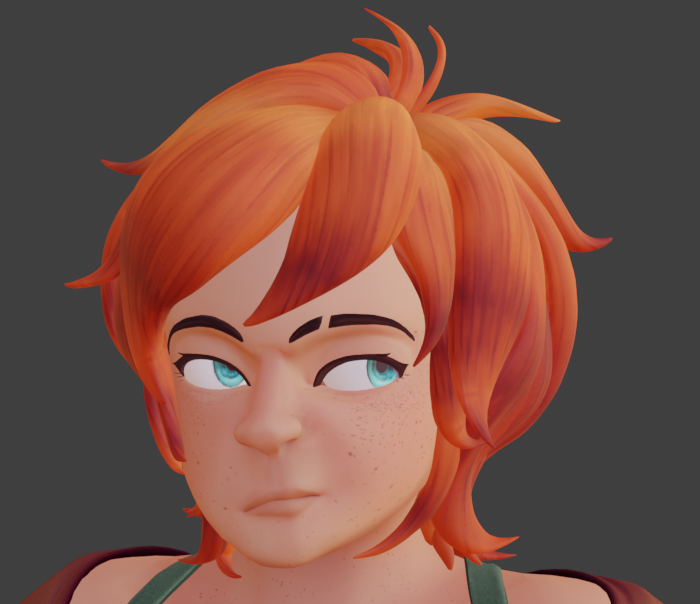
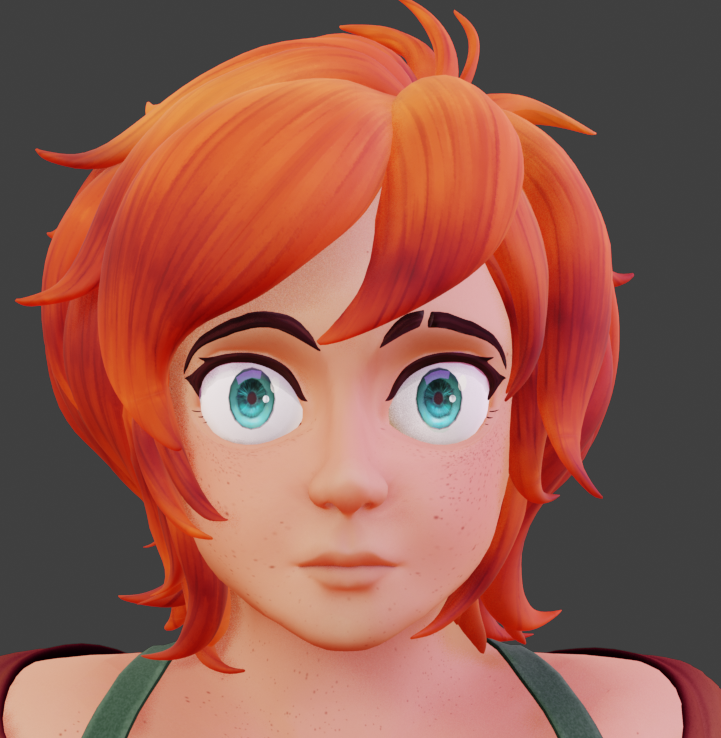
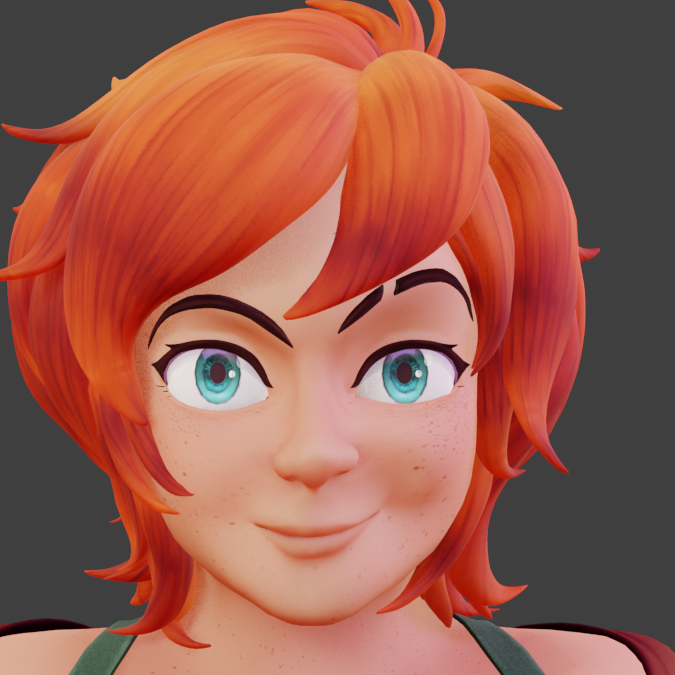
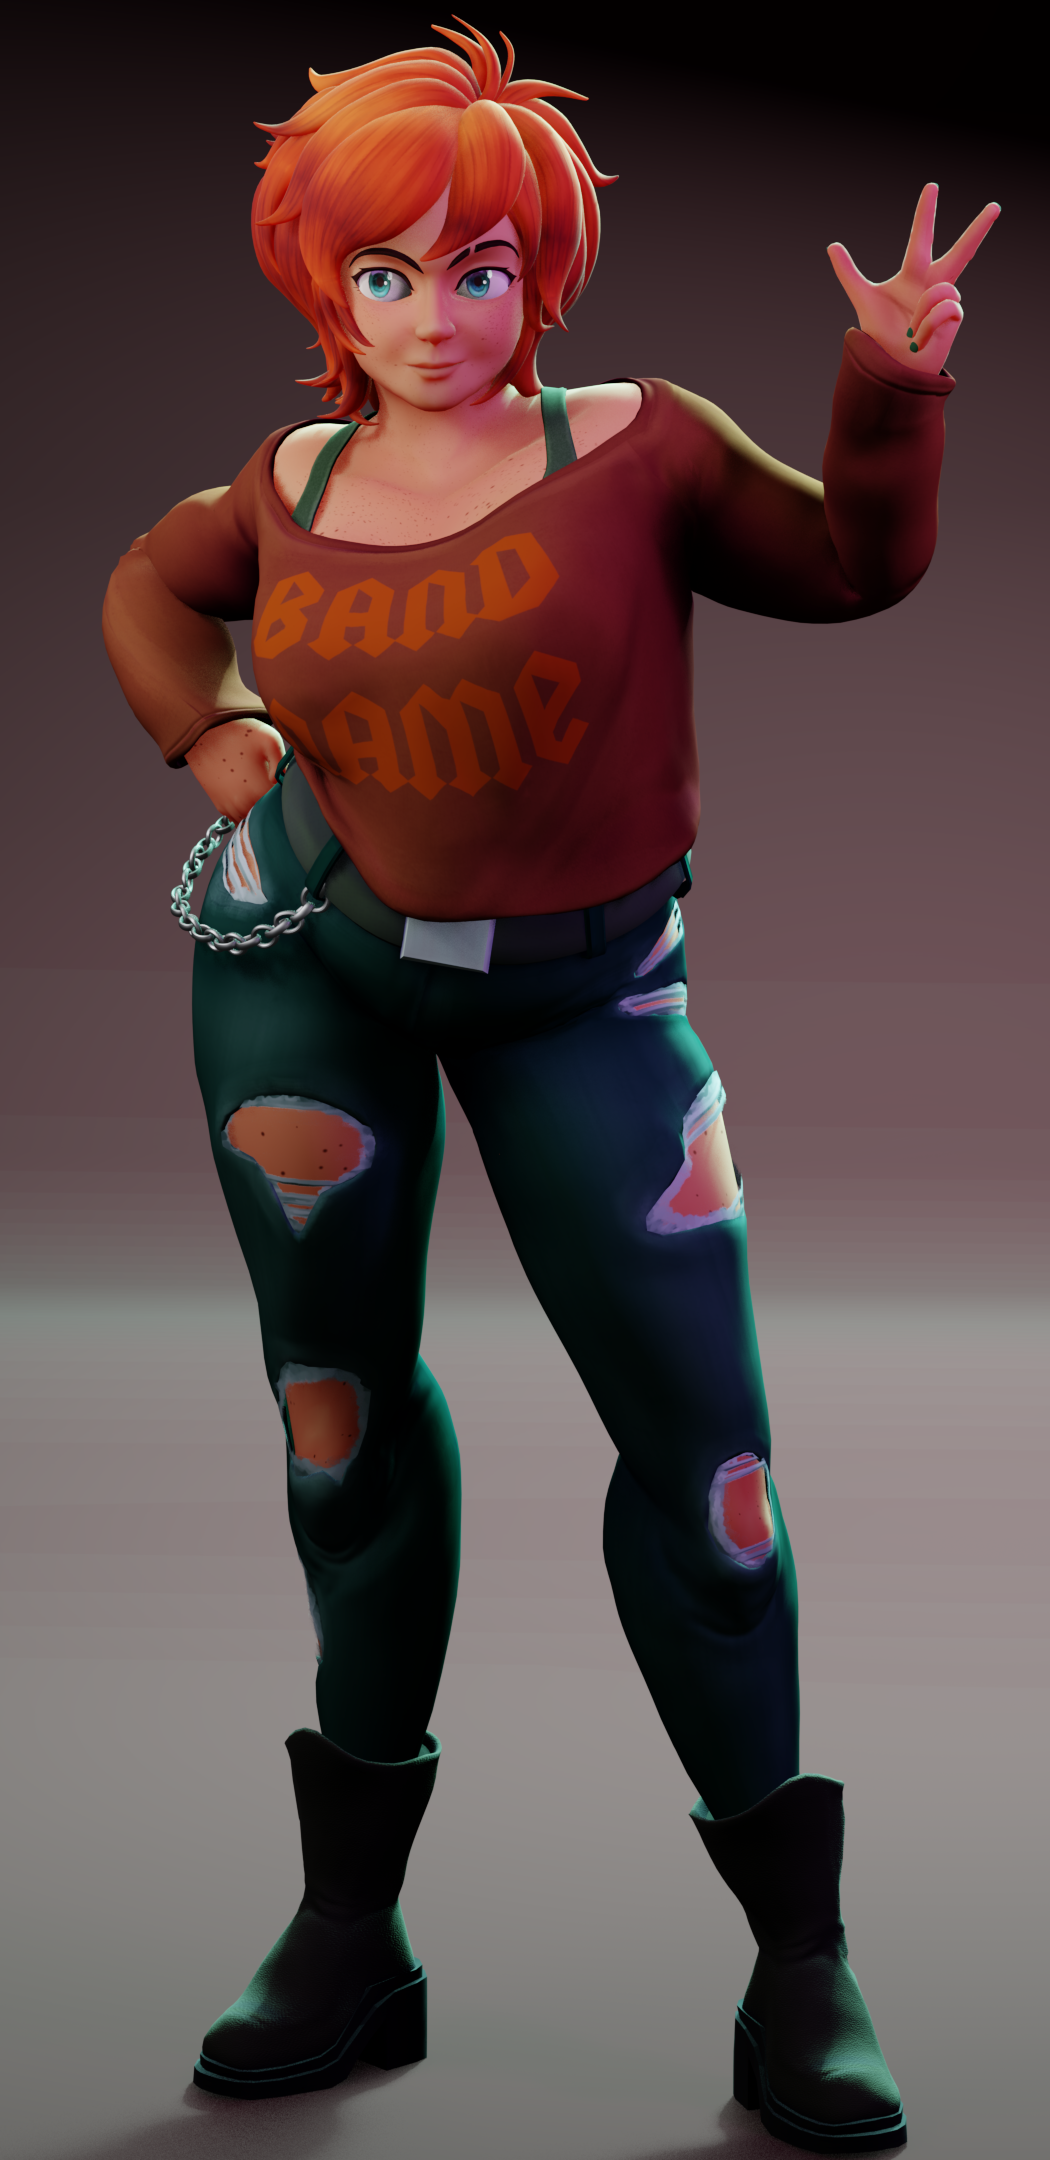
• Hero Model; May Sakamoto

    August 2025 - October 2025

    Process Breakdown

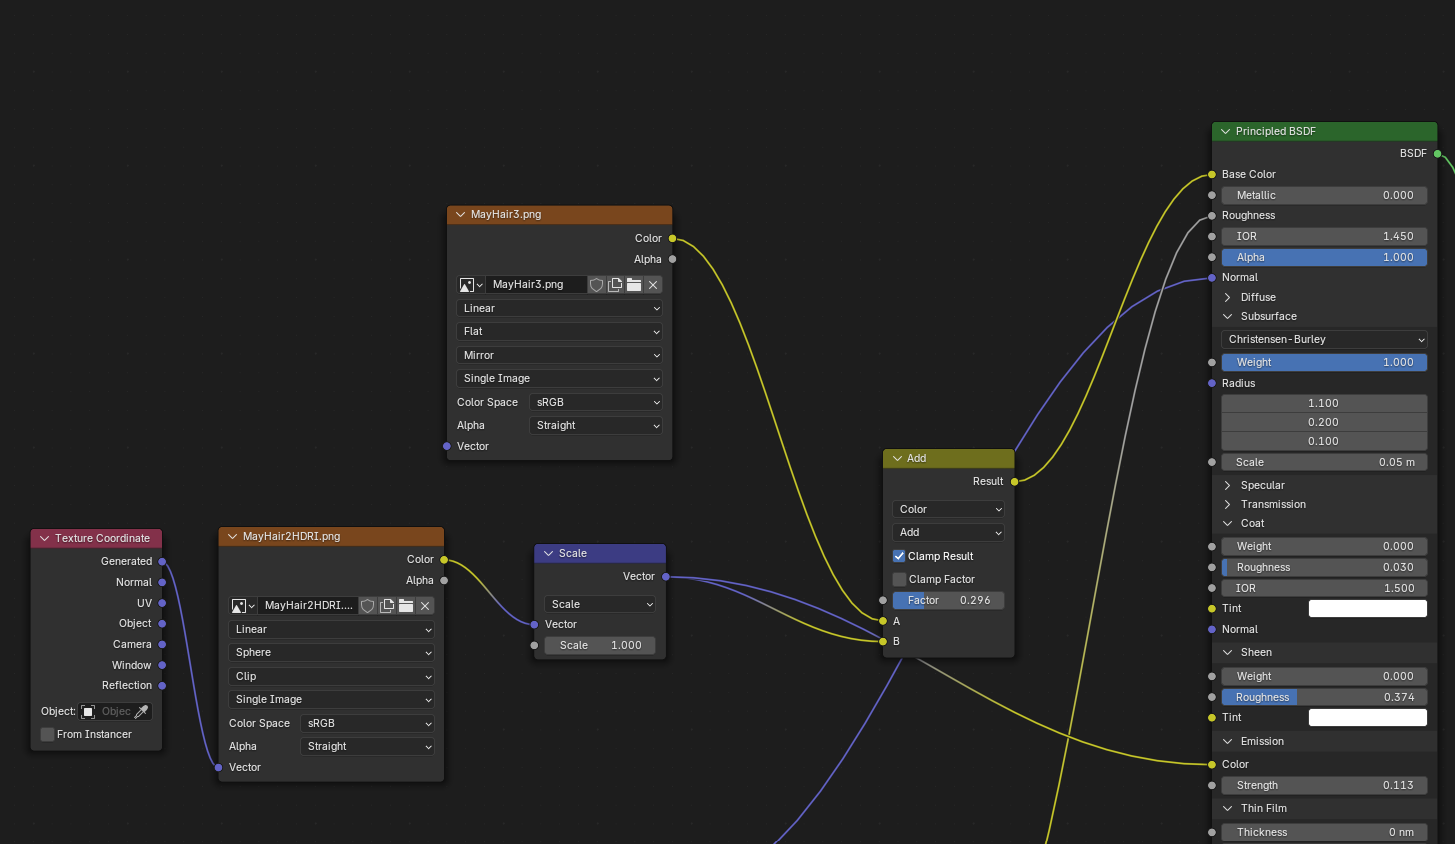
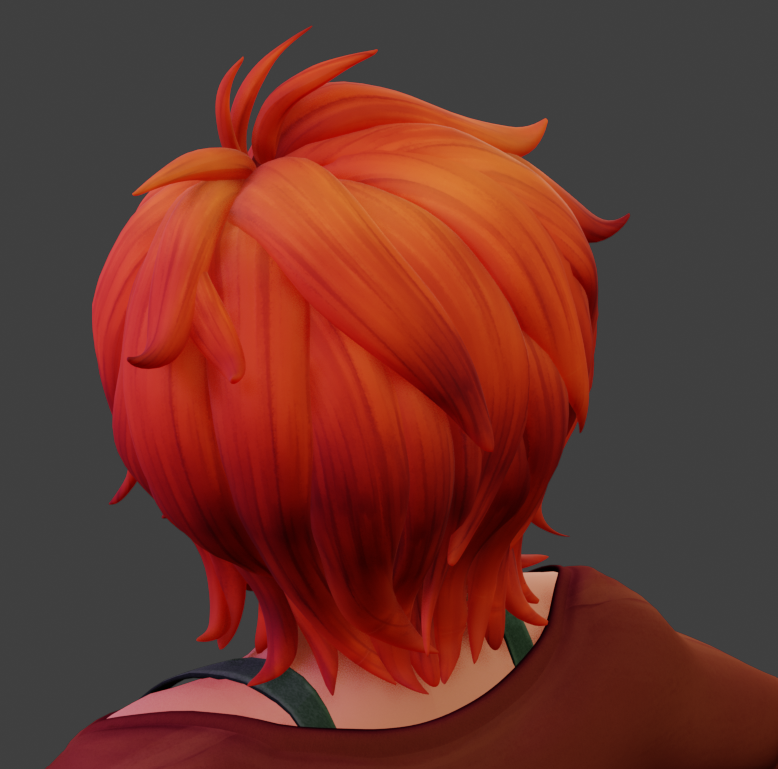
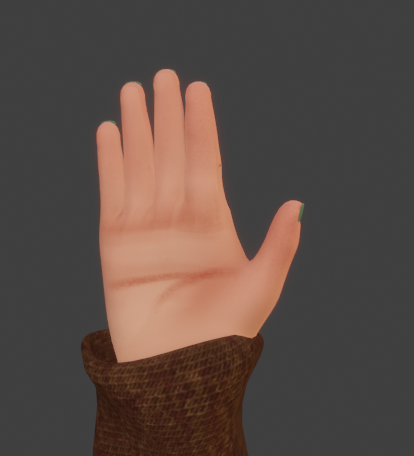
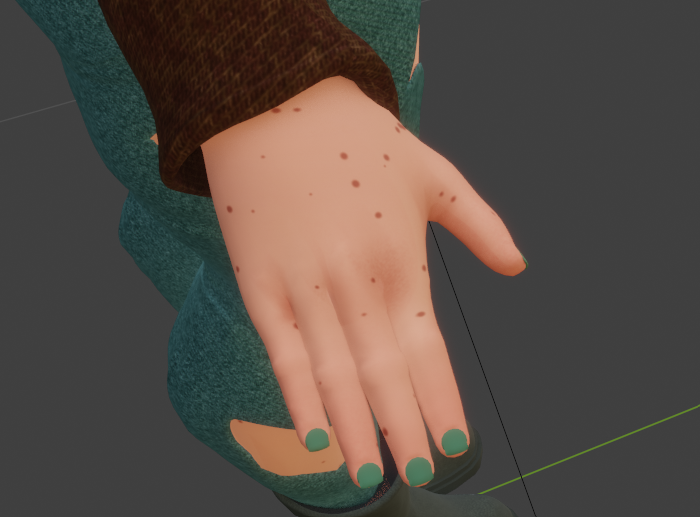
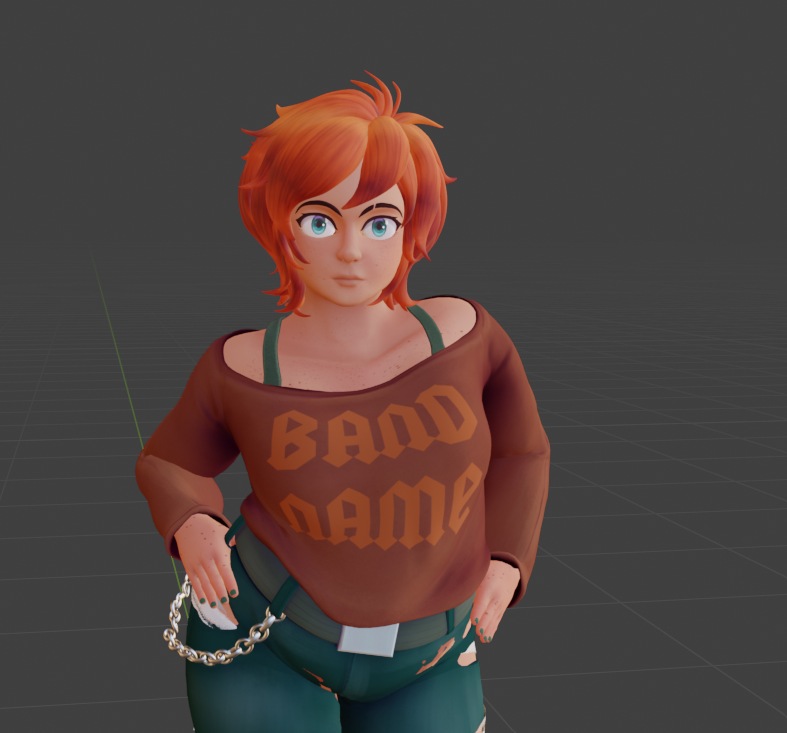
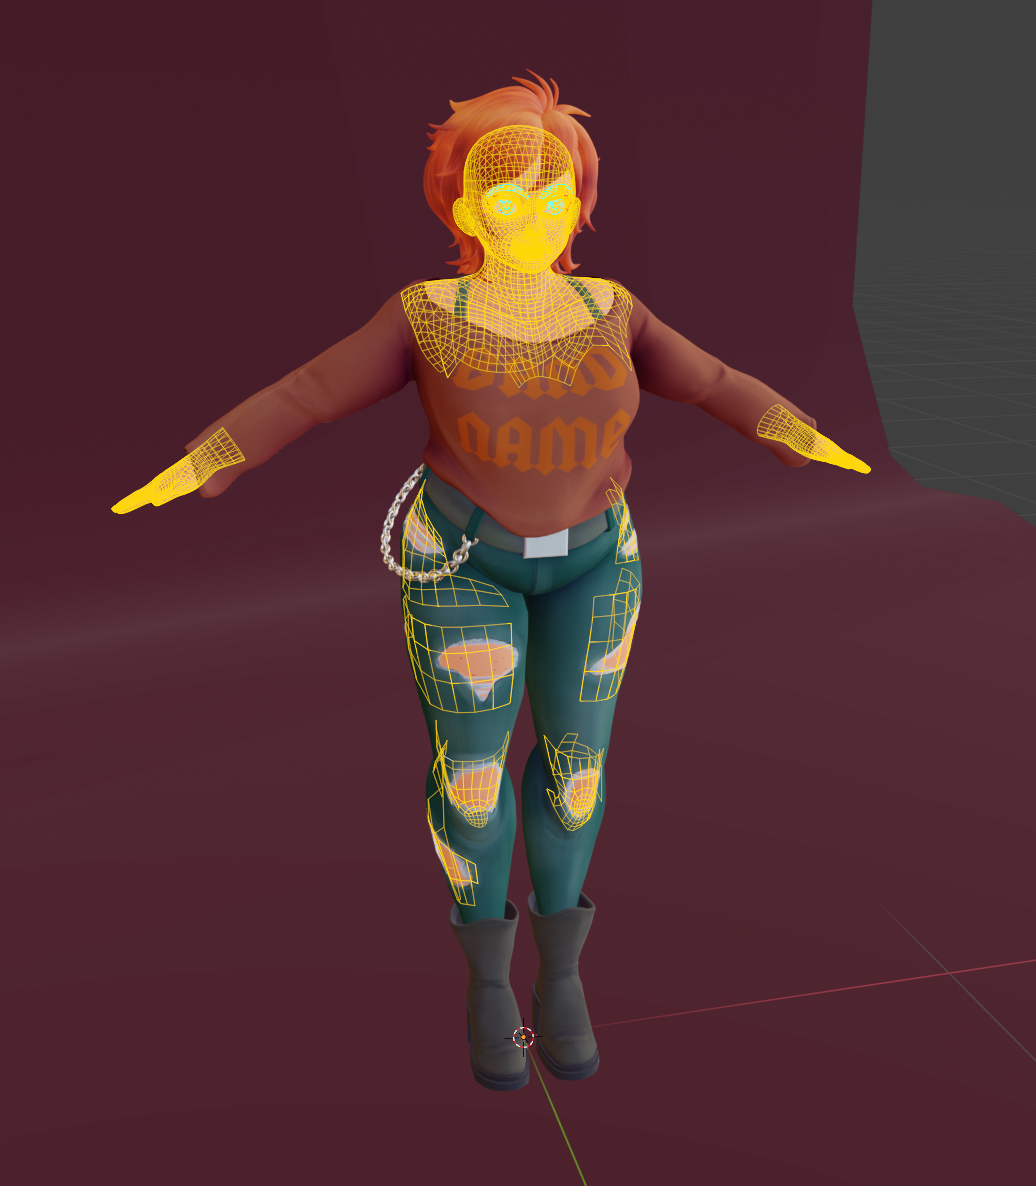
       This is my first fully functional Hero Model! For this project, I had to learn how to do texturing, including all the maps involved in the PBR workflow, along with Re-Topologizing, Weight Painting and Rigging.

       While Concept Art is my specialty, to better understand and better help with what would be done with my work in a pipeline I decided for this project I would go through all steps in making a game ready model. Below is an abridged documentation of my process. This will not cover the entire step-by-step, just highlights.
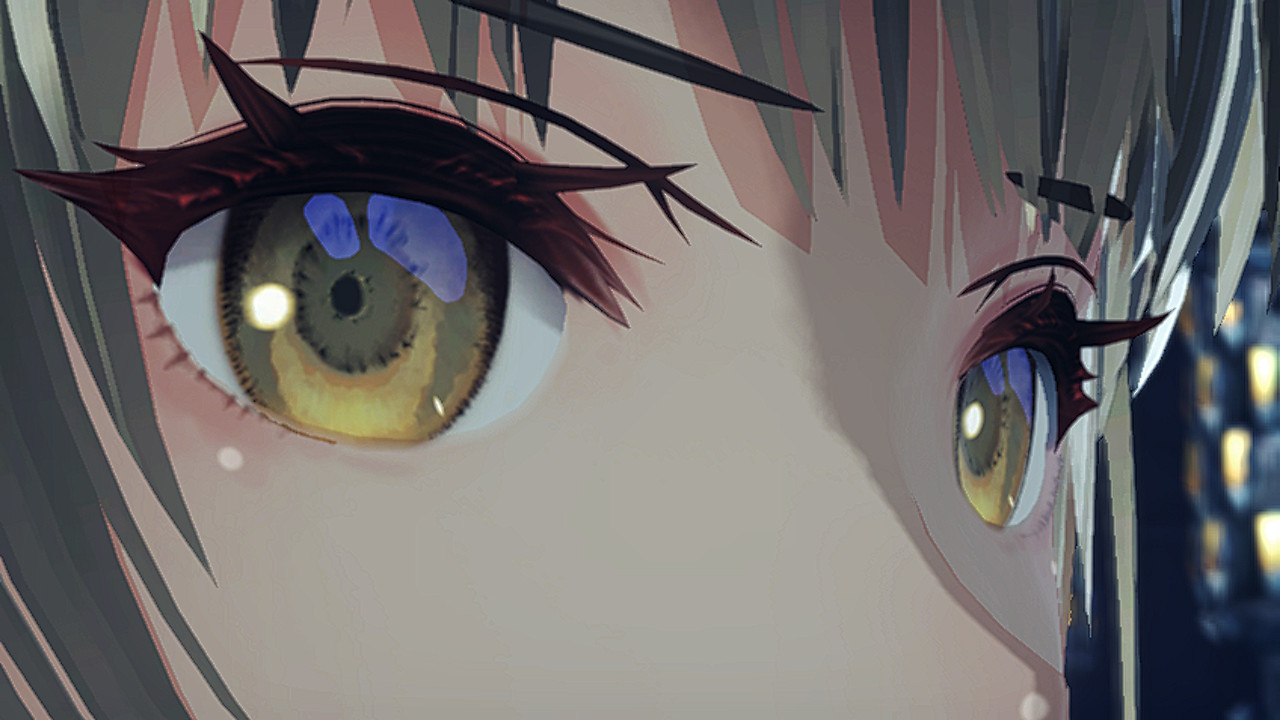
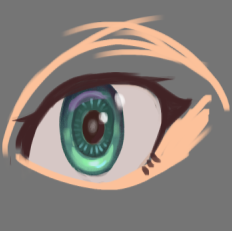
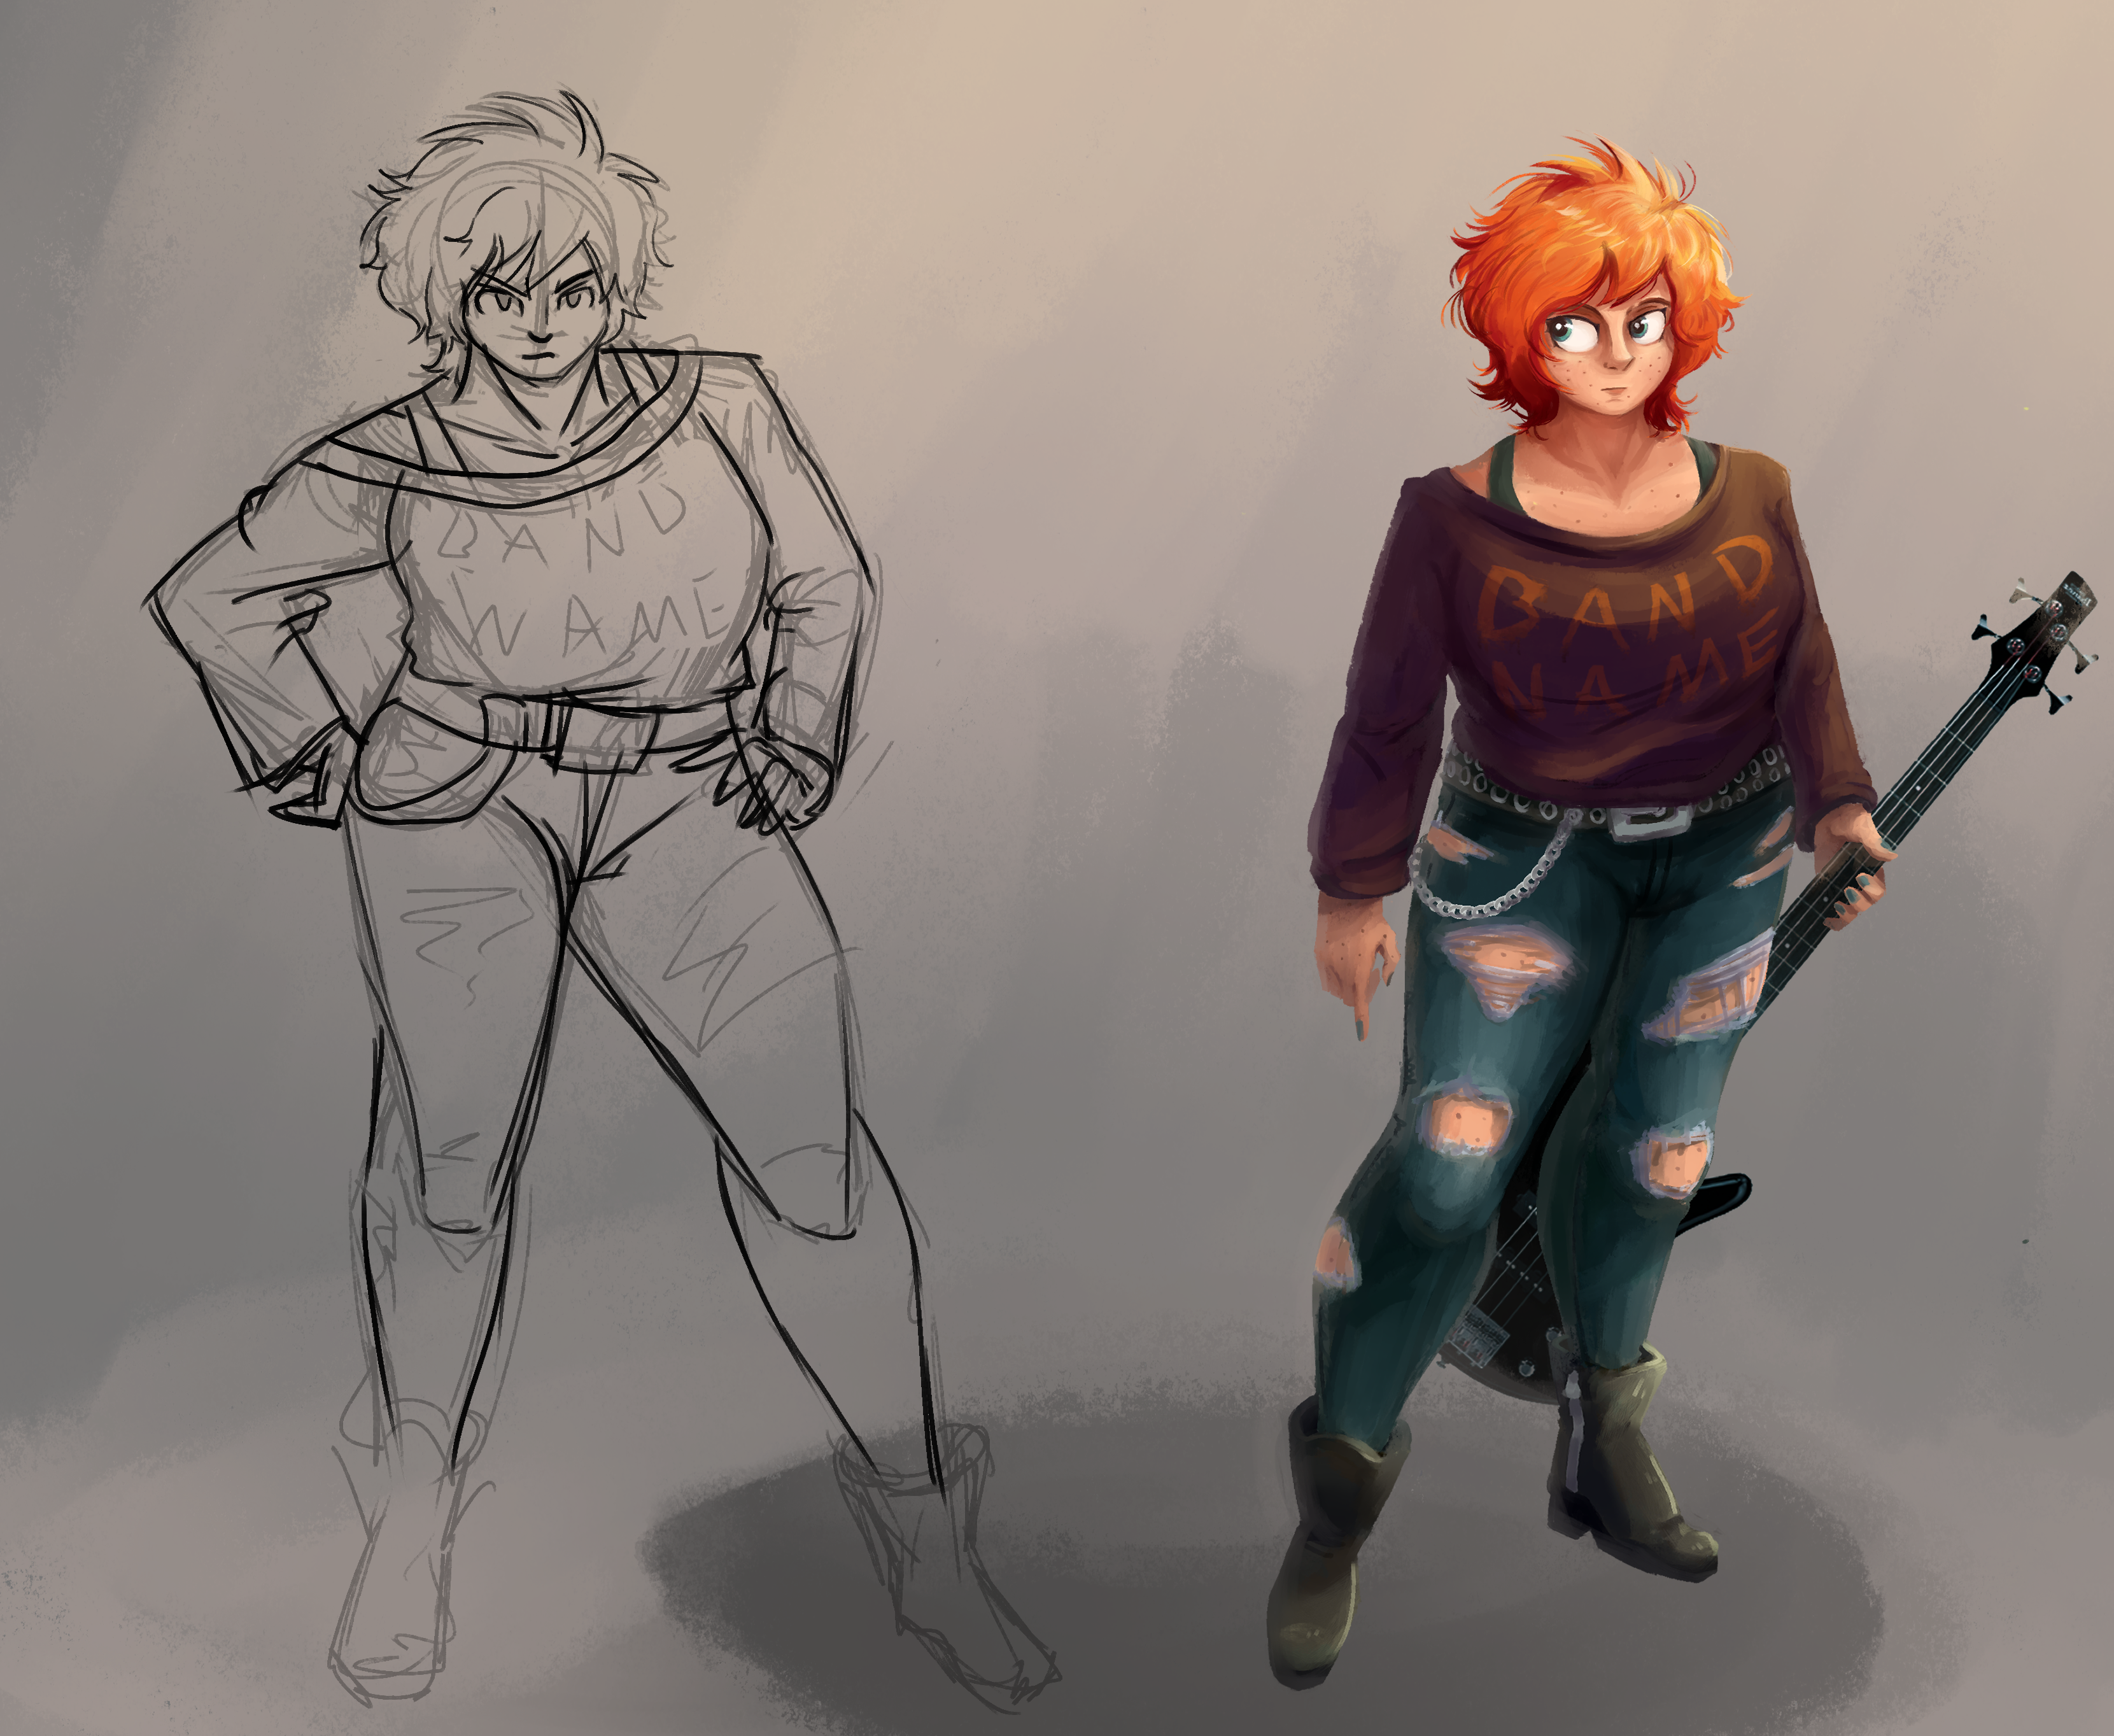
  • iPhone Thumbnail
iPhone Thumbnail
  • Reference

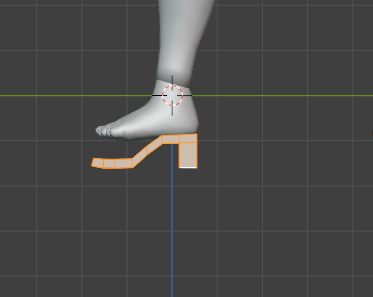
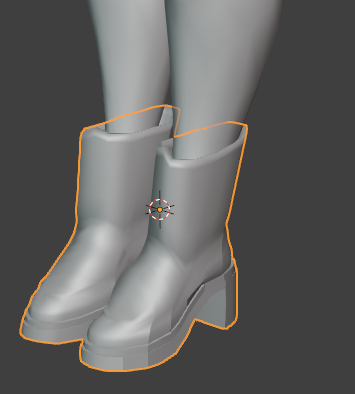
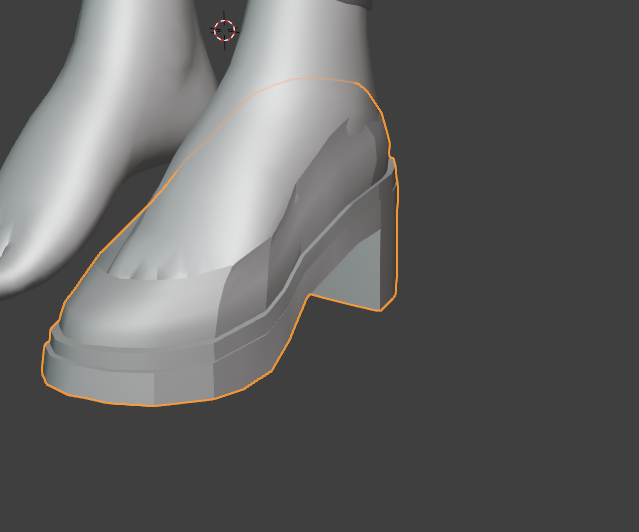
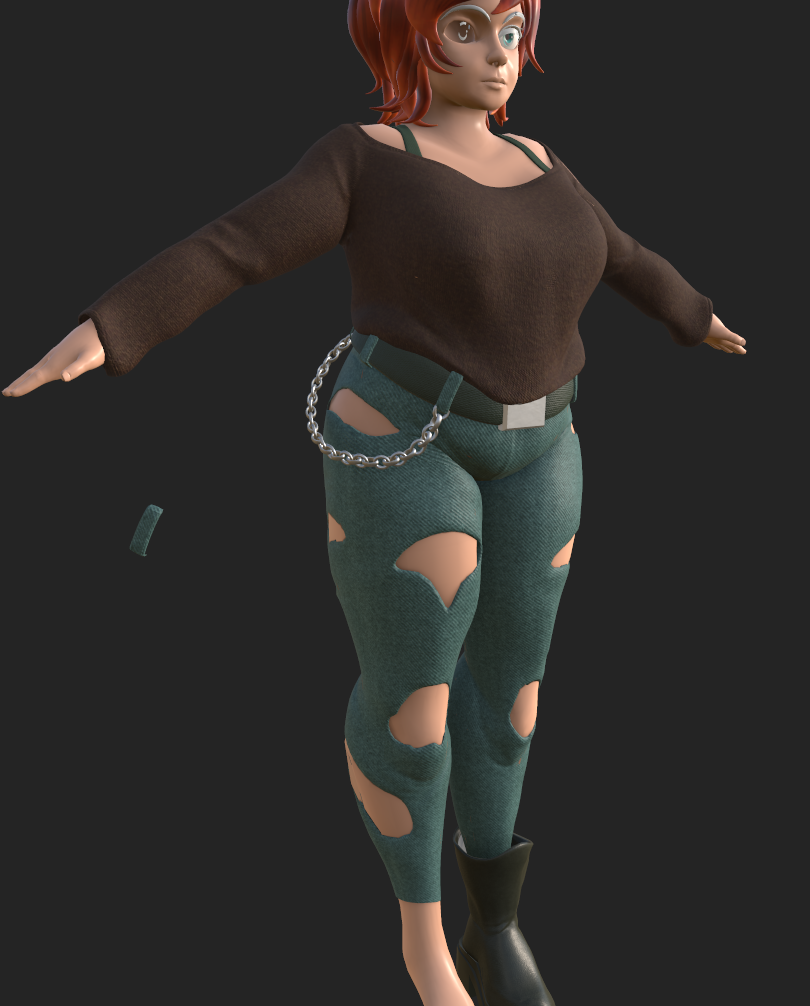
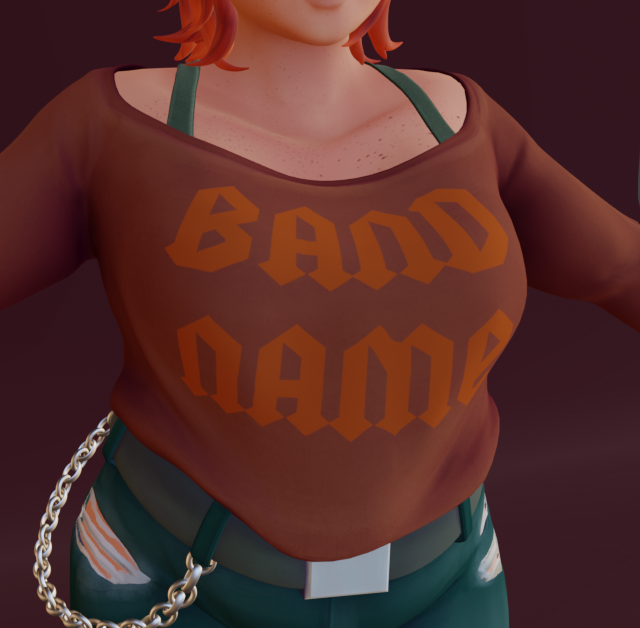
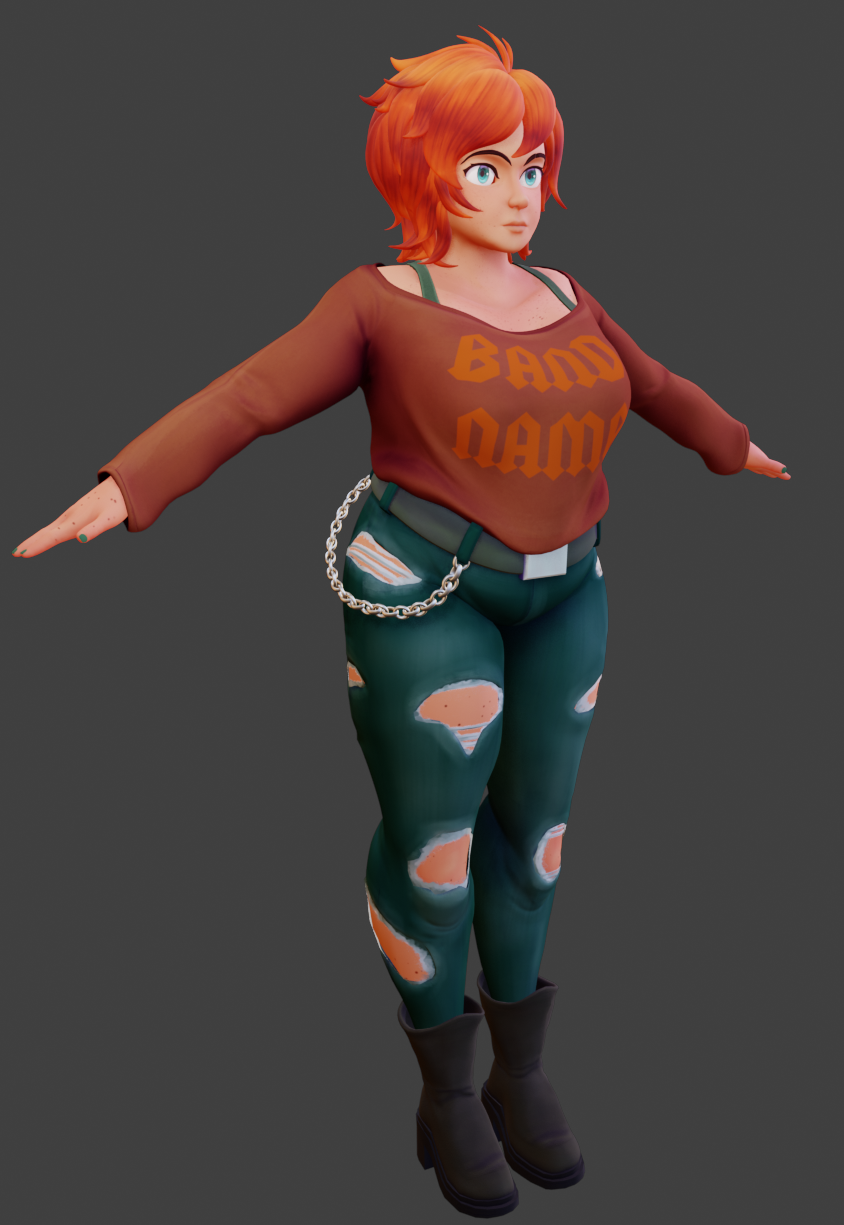
       A turnaround was not needed for this as I was working from a template model, and I am very familiar with my character. Not shown are the various clothing images I pulled up while modeling, as I did not save them after completion. I also used my own clothes for reference, specifically the boots are almost exactly a pair of my own I used. 
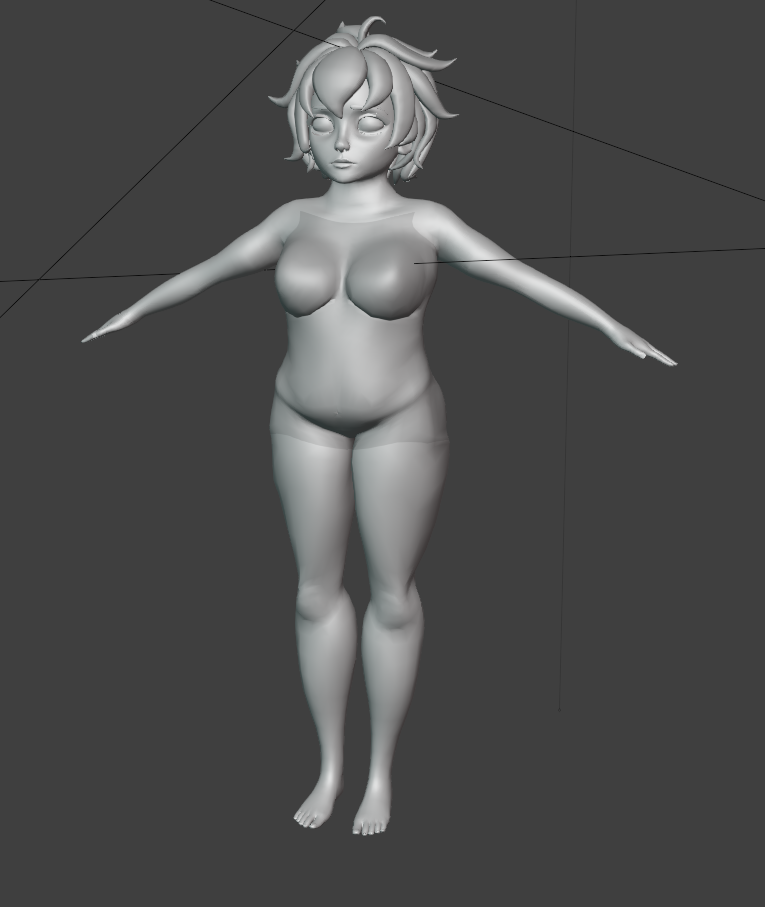
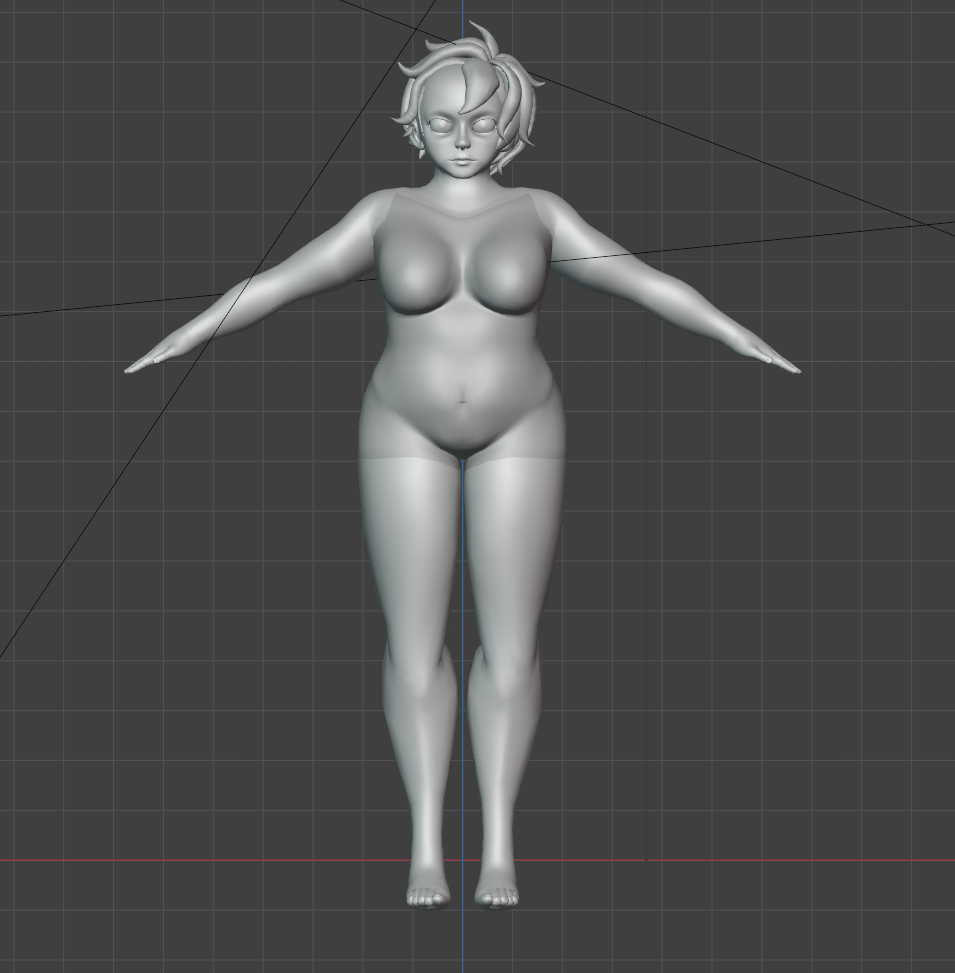
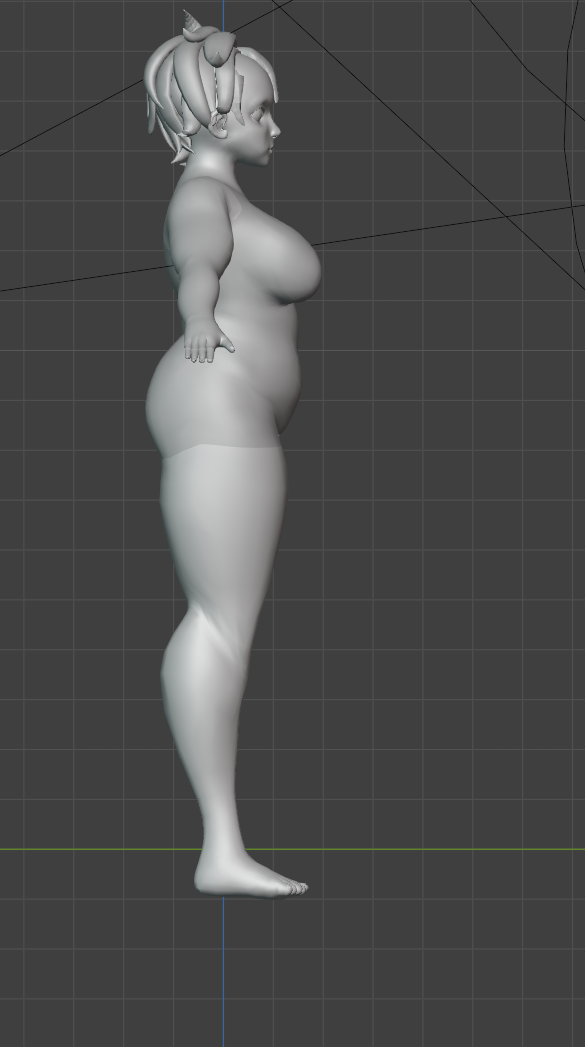
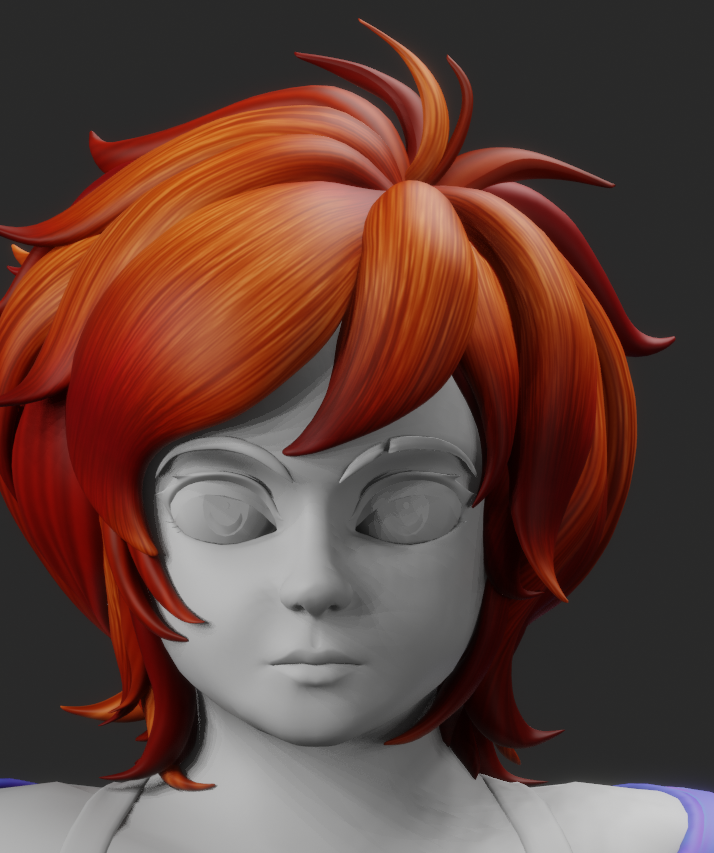
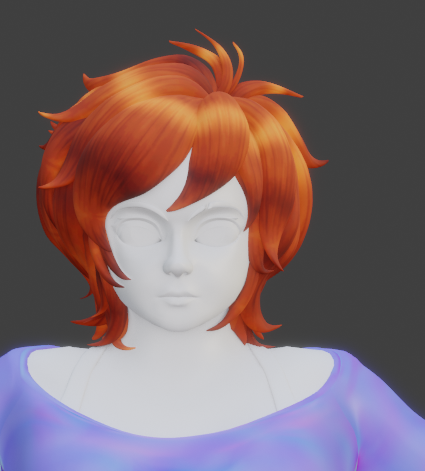
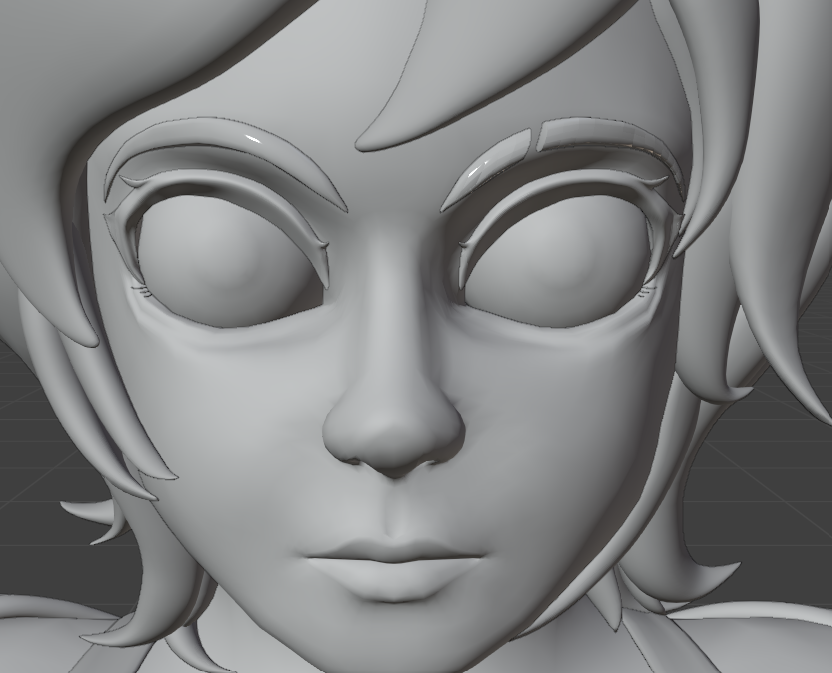
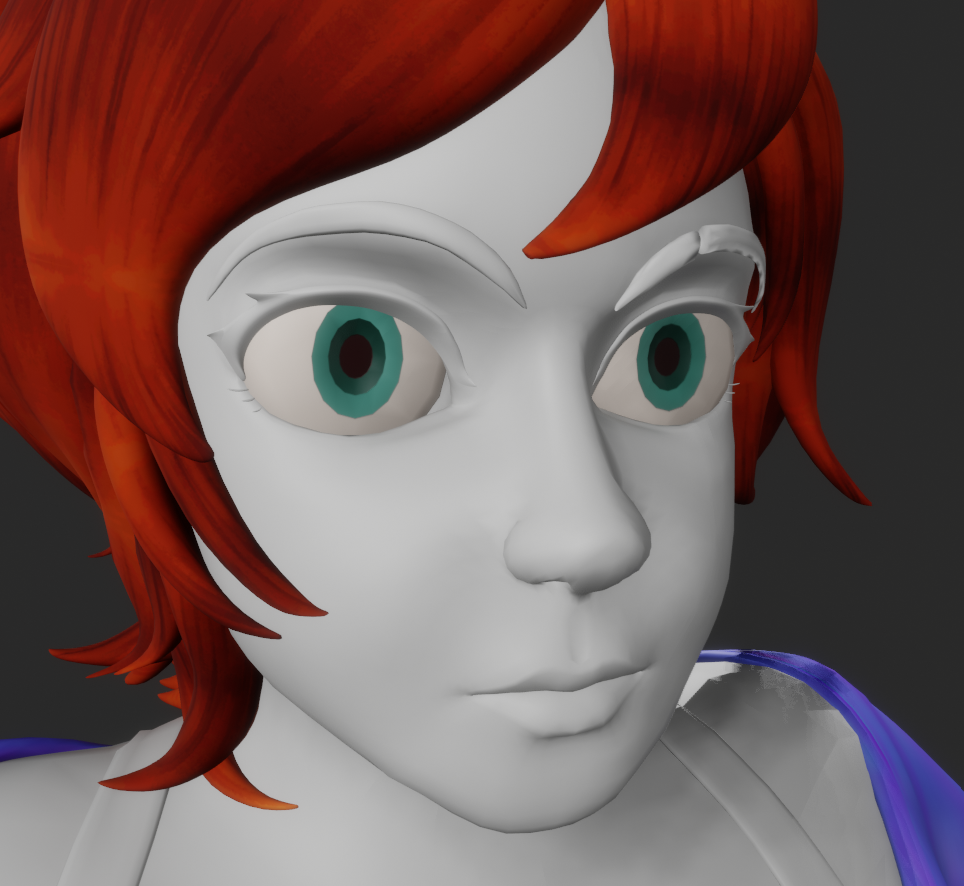
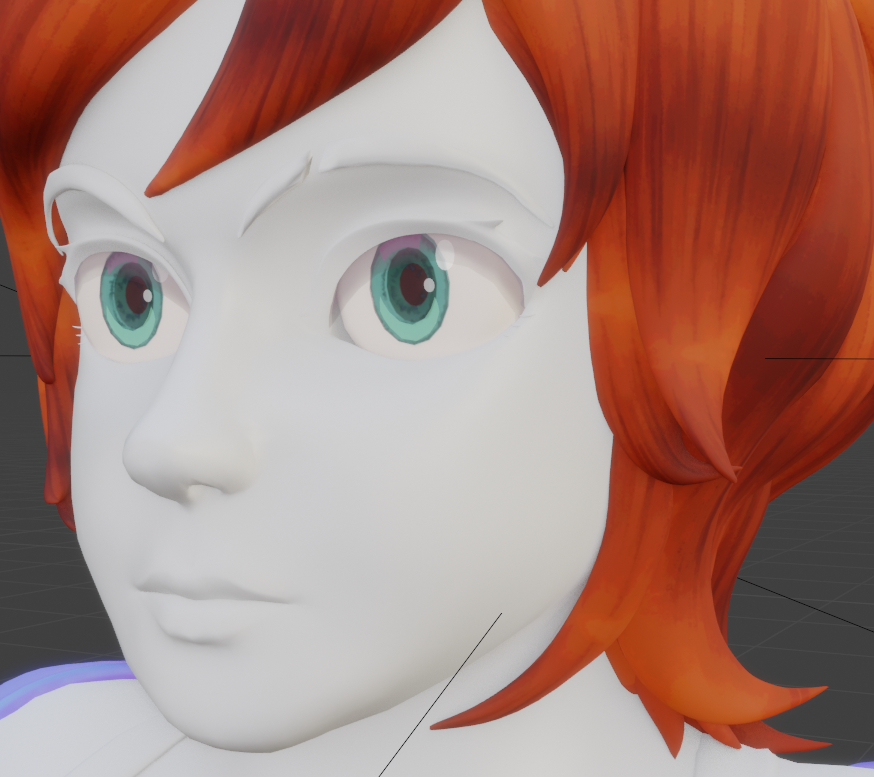
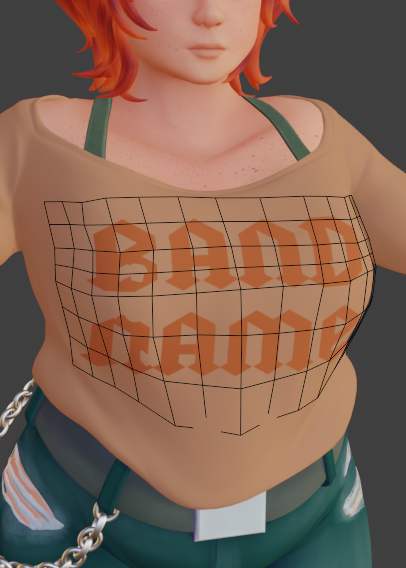
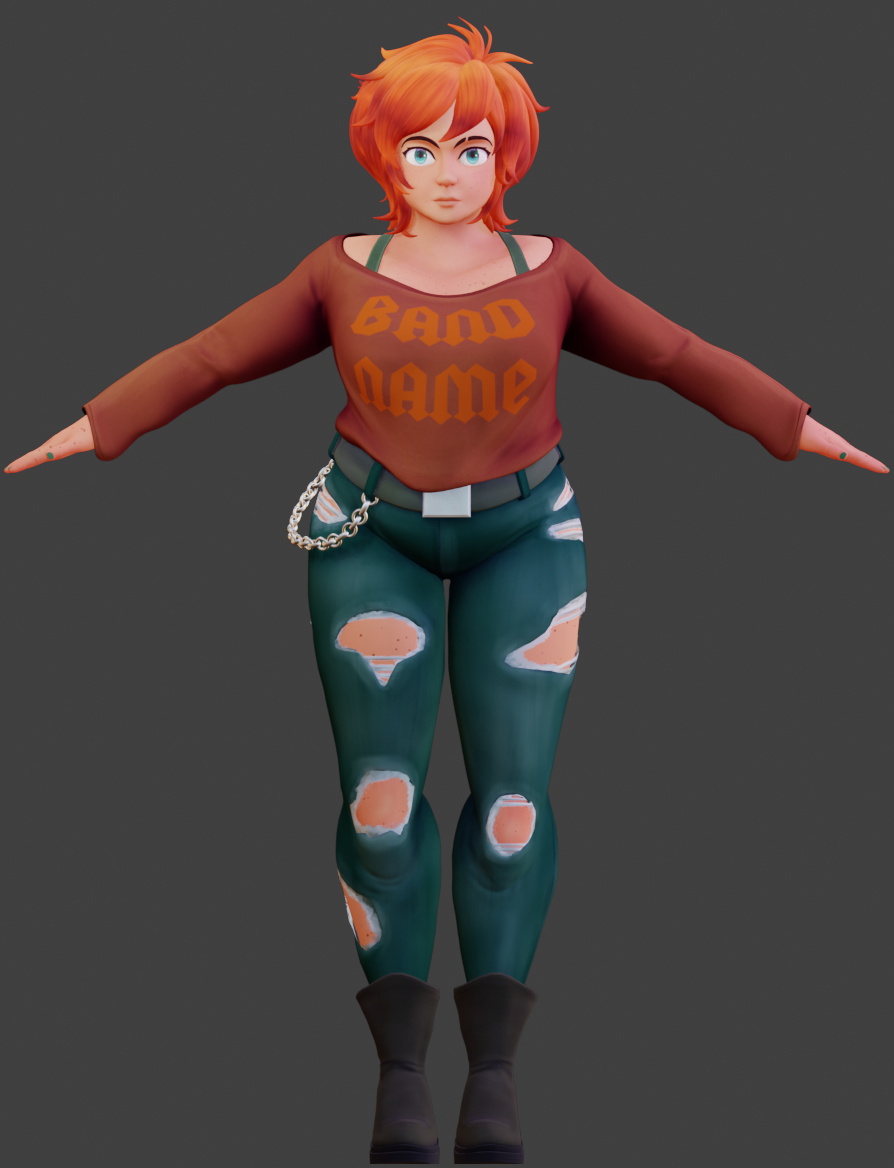
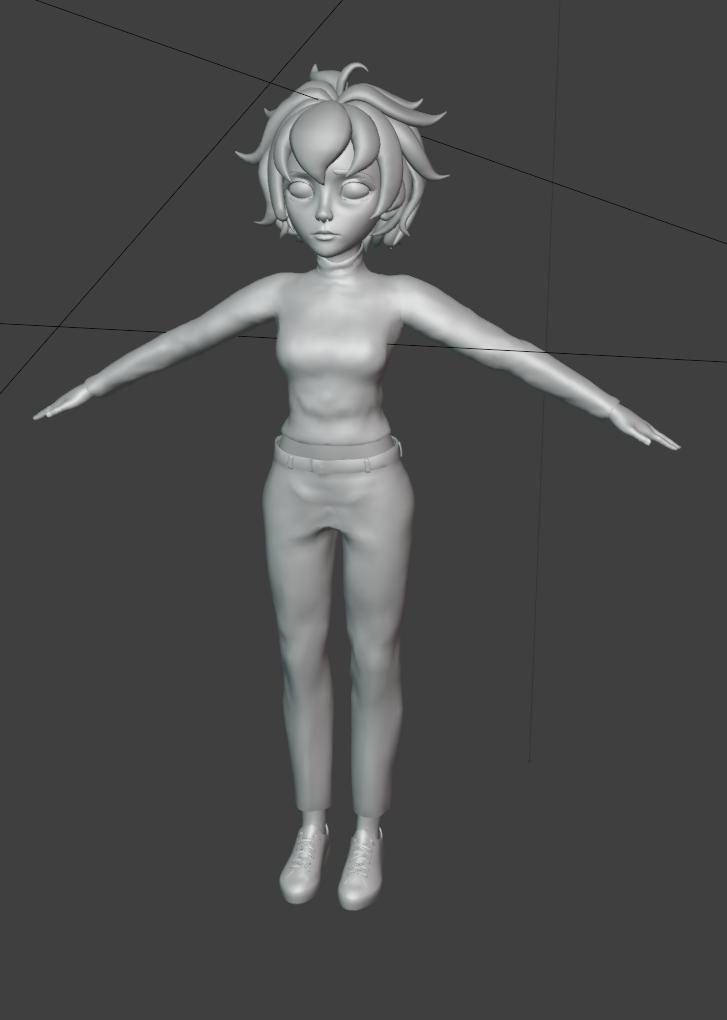
iPhone Thumbnail
  • Template Model

       This model had a pre-built mouth cavity, facial shape keys and good topology to start off of. While I know how to make a character from scratch, I avoid it when it's not needed as the process is relatively slow and already solved.

  • iPhone Thumbnail
  • iPhone Thumbnail
  • iPhone Thumbnail
  • Body Building

        Adjusting the proportions of the body until got a decent enough approximation to begin the clothes and hair.

  • iPhone Thumbnail
  • iPhone Thumbnail
  • iPhone Thumbnail
  • Boot Building

        The boots were the only part of this besides the chain that required I build it from the ground up. The rest of the clothes were built from body extrudes. It was split into two connected groups: the sole and the boot itself. I started from the sole and built upwards but because they're heels, I had to adjust the foot pose for reference.

iPhone Thumbnail

    Model Pass

           Pass before texturing began. The high poly shirt and jeans shown were baked onto the low poly versions after this pass. Belt grommets were later removed as they muddled the middle of the model.

  • iPhone Thumbnail
  • iPhone Thumbnail
  • iPhone Thumbnail
  • Hair Texturing

            Initially, the highlights shown above were baked into the AL map (shown above), but that was scrapped, as that method created some visual issues. For additional depth, the hair has a very light normal map applied.

  • iPhone Thumbnail
  • iPhone Thumbnail
  • iPhone Thumbnail
  • Final Hair Process

        To improve the highlight, I had to separate it from the AL map into its own as a HDRI. This was then applied to the hair, treating it as a sphere to create the final effect.                          

  • iPhone Thumbnail
  • iPhone Thumbnail
  • iPhone Thumbnail
  • Final Hair Render


  • iPhone Thumbnail
  • iPhone Thumbnail
  • iPhone Thumbnail
  • Eye Building 1

        For the eyes, I reverse engineered the way eyes are built in "Xenoblade 3". Using hero models ripped by the "World Tree Research" Discord, I deconstructed the process for creating the parallax, layered look. To abridge the process, it was to layer multiple convex, translucent and semi-luminescent cards over the eye, with concave pupils.  

  • iPhone Thumbnail
  • iPhone Thumbnail
  • iPhone Thumbnail
  • Eye Building 2

        The cards I created form the shadow, 2 types of highlights (the white shine and the green/purple iris highlights) and the iris lines. During card creation, I did a concept sketch of the style I was aiming for. The screenshot is the eyes from "Xenoblade 3" in-game. 

  • iPhone Thumbnail
  • iPhone Thumbnail
  • iPhone Thumbnail
  • Eye Final

       Final draft of the eyes. If I were to add to this, I would add something akin to the blue reflective highlight shown in the previous Xenoblade screenshot, as the large bright curve of color layered over the shadow card really sells the glossy look.

  • iPhone Thumbnail
  • Rough Demonstration

           Rough demonstration of the addition mentioned previously in the left eye, created because of my own curiosity. Ideally this would be applied to a build that had this in mind during creation, as it seems better suited for a larger iris. 

  • iPhone Thumbnail
  • Substance Attempt

           Initially, I tried Substance Painter to get good PBR drafts for all object maps. I learned it was not particularly suited for stylized character work and scrapped all AL maps but the boots and chain, however I kept the roughness maps for all clothes but the belt. Substance was good at generating AO maps for all objects and I later modified and implemented them into all AL maps. (AO specific versions of the maps went unused as Blender does not have a traditional AO map system to my knowledge.) 

  • iPhone Thumbnail
  • iPhone Thumbnail
  • Hand AL

             The Al map for the hand is something I'm particularly proud of as the palm's crease was entirely done in the AL.  

  • iPhone Thumbnail
  • iPhone Thumbnail
  • Shirt Graphic

        Initially, I tried to put a shrink-wrapped card over the shirt for the graphic so placing it where it would stretch naturally would be easier. Clipping while posing required me go back and apply the texture to the shirt's AL map with a stencil tool, using the original draft as reference.

  • iPhone Thumbnail
  • iPhone Thumbnail
  • iPhone Thumbnail
  • Expressions

           The pre-built facial shape keys were a great template to use in creating a wide range of expressions after modification. I had to manually create the eyebrow, eyelid, eyelash and eye shape keys.

  • iPhone Thumbnail
  • iPhone Thumbnail
  • Clipping Complications

            While Rigging and Weight Painting, I encountered plenty of clipping issues with the body to the clothes. Initially, I tried to remedy this by tweaking the weights for hours on end. Only after the final render did I realize that culling the hidden parts was the better option, as after the clothes' models were set, the parts of the body under were no longer needed. If I had realized this sooner I could have saved so much time and frustration, however it was a valuable learning experience in optimization.

  • iPhone Thumbnail
  • iPhone Thumbnail
  • iPhone Thumbnail
  • Final Turnaround